Quality Management
MIDHANI shall provide Quality Metal & Alloy products that consistently meet all applicable requirements. MIDHANI remains committed to enhancement of customer satisfaction by continually improving the effectiveness of Quality Management System to drive Organizational Performance.
MIDHANI Quality Assurance System has approvals from :
- Directorate General of Aeronautical Quality Assurance
- Directorate General of Civil Aviation
- Directorate General of Quality Assurance (Recipient of Self Certification Status)
- Department of Space
- Department of Atomic Energy
- Source Approval of Boeing Co, USA( For Titanium & Titanium Alloy Products)
- Successful Quality Audit by EADS-AIRBUS
Quality Control facilities
Our comprehensive testing services provide customizable, reliable analytical results to fit the engineering needs with state of the art facilities with accreditations and approvals.
A comprehensive range of testing and evaluation services covering chemical analysis, mechanical, non-destructive and magnetic testing are rendered by MIDHANI.
Destructive Testing
- Sample/specimen preparation
- Heat Treating
- Metallographic
- Corrosion
- Mechanical and Magnetic Testing
- Chemical Analysis
Nondestructive Testing
- Dye-Penetrant inspection
- Ultrasonic – contact and immersion inspection
- Visual inspection
- Magnetic Particle inspection
Precision specimen preparation facility
In-house machine shop encompasses clean, temperature controlled environment and state of the art equipment including: CNC lathes, wire EDMs, surface grinder, and notching low-stress grinders. Our reputation for quality machining and superior engineering experience can make sub-size specimens & Chevron Notch to very close tolerances.
Heat treatment
Simulated heat treatment cycles (Hardening, tempering, Solution annealing and ageing) on the specimens are performed.
Mechanical Testing
The Mechanical Testing Labs at MIDHANI test materials in accordance with customer specific specifications as well as all applicable ASTM Standard Test Methods.
Test Facility Specification/Standards Tensile Testing at Room temperature (UTM 200KN) ASTM E 8/8 M Tensile Testing at 950°C max
Tensile Testing at Sub-zero( UTM 250KN) (upto -70°C )
Provision for Round and sheets samplesASTM E 21 Impact Testing at Room temperature
Impact Testing at Subzero Temp.(up -70°C)
• Charpy test equipment up to 216 ft-lbs
• charpy Impact test equipment upto 300J
• Izod test equipment upto 164JASTM E 23 Hardness Testing
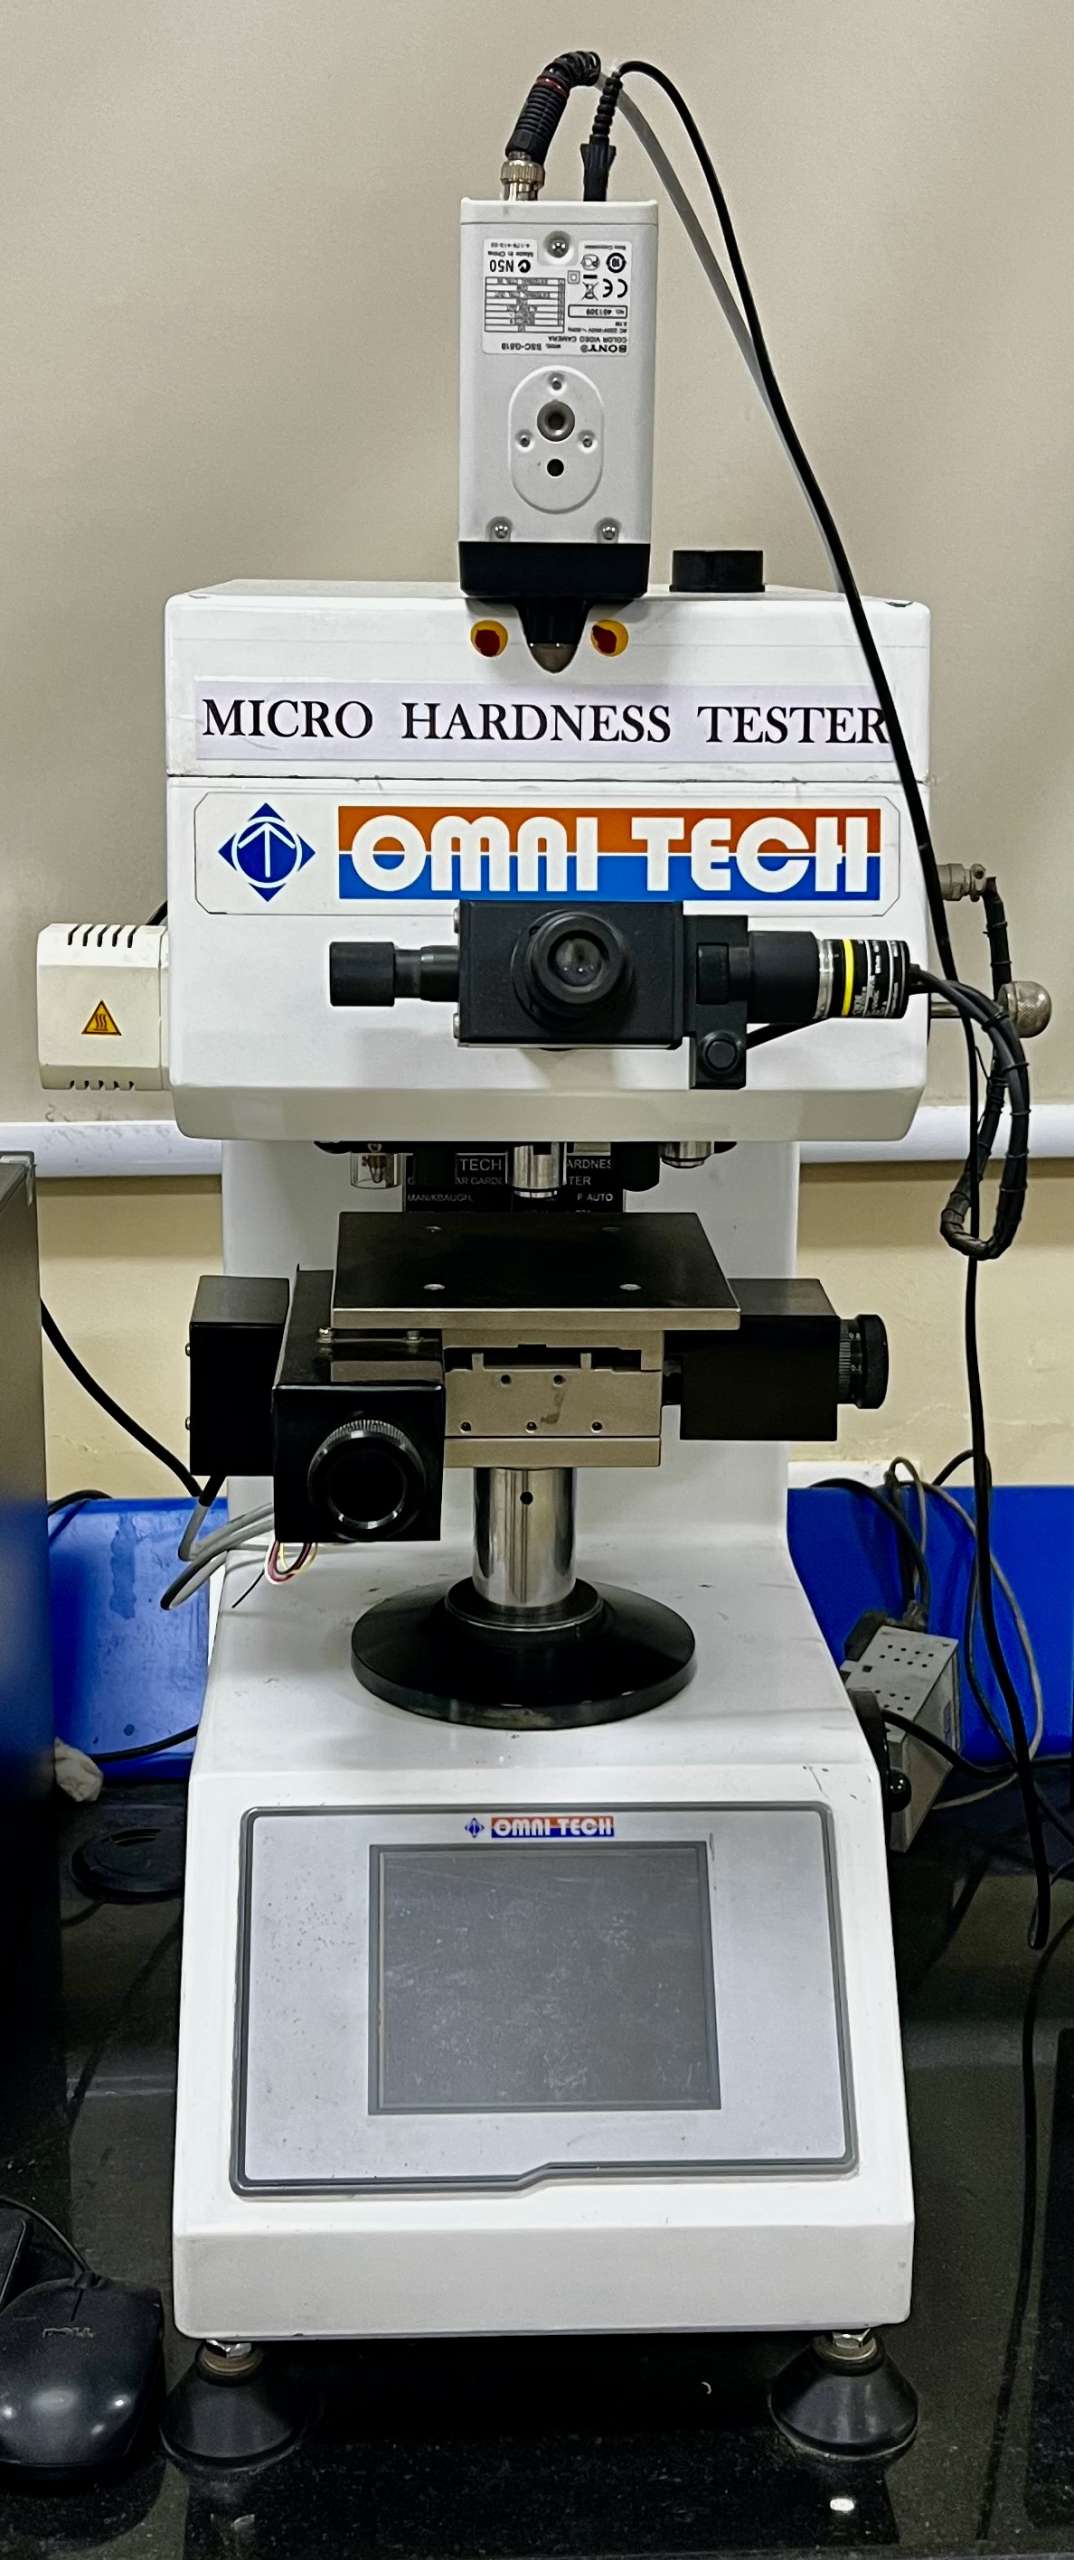
(Brinell -3000kg/Rockwell hardness 150kg /Vickers hardness 50kg )ASTM (E10/E18/E92) Micro hardness ASTM E 384 Fracture Toughness (UTM 100KN) ASTM E 399 Creep & Stress Rupture
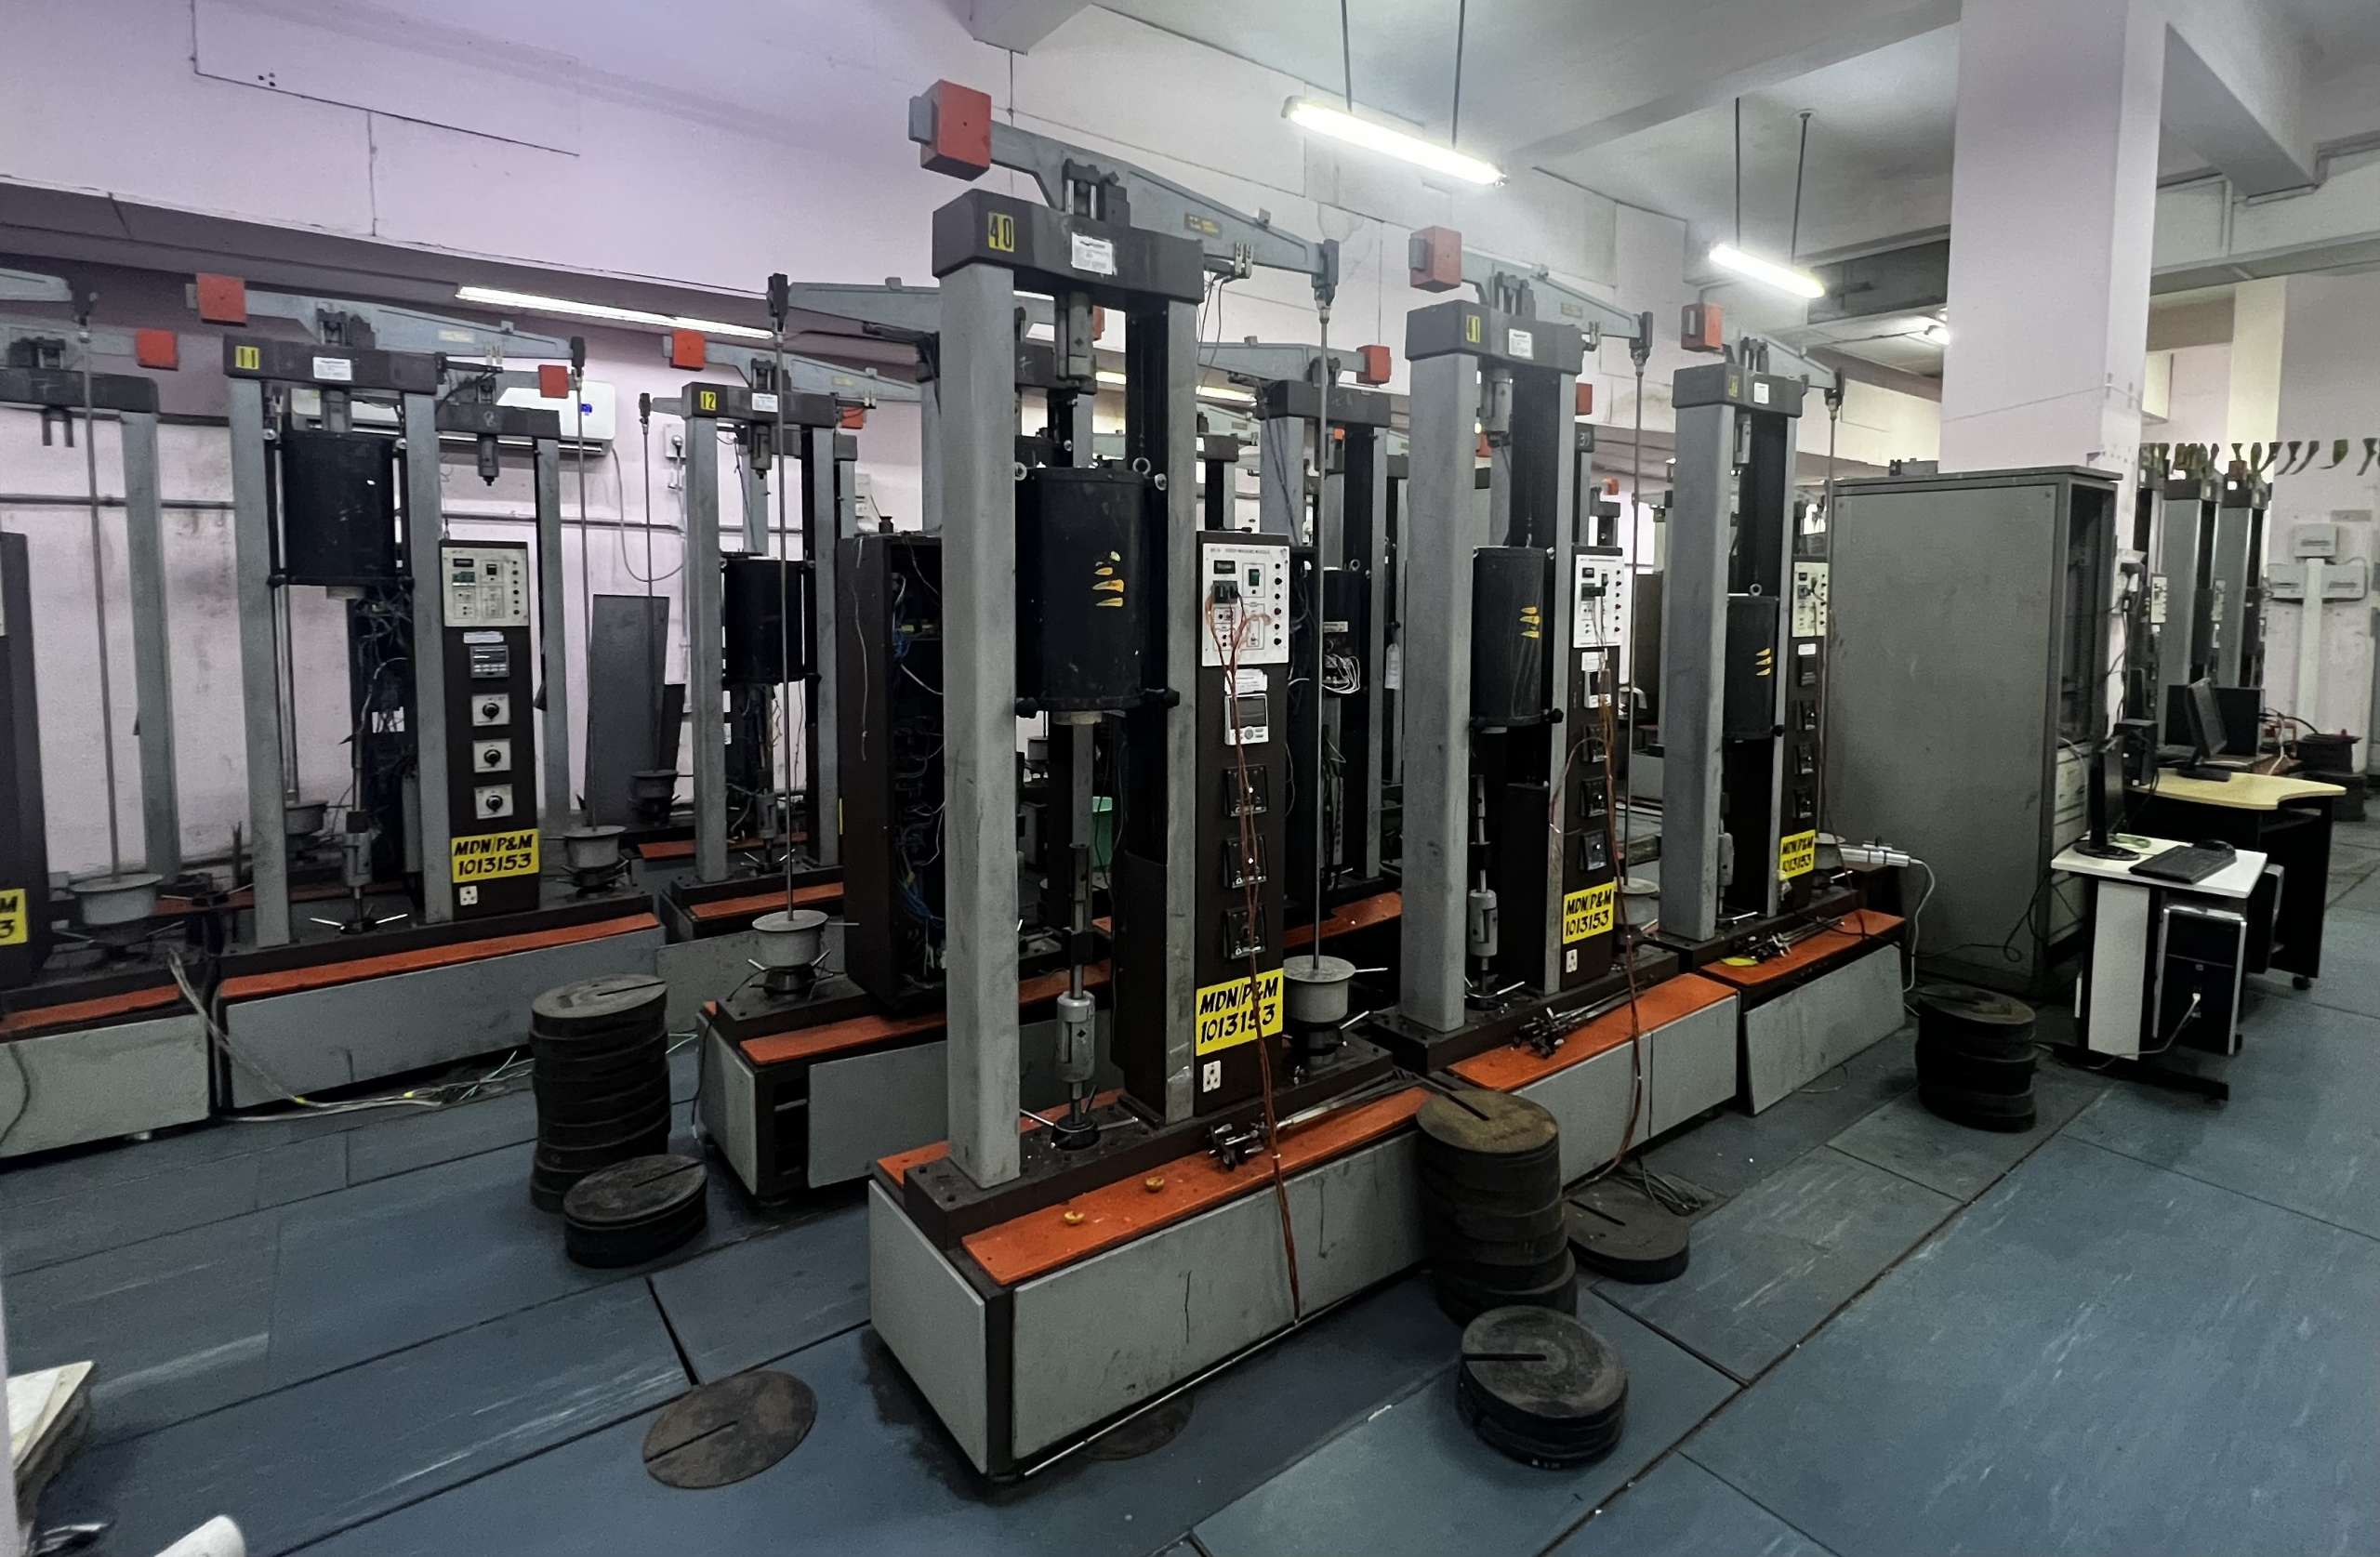
48 Machines with 20KN load-max temperatures 950°C
2 Machines 30KN load-max temperatures 950°CASTM E 139 Low Cycle Fatigue (LCF)
Axial mode (Wave forms Triangular, sinusoidal, trapezoidal)
Room temperature and High temperatureASTM E606 High Cycle fatigue (HCF)
Rotating bending mode
(3000 RPM to 6000 RPM)ASTM E466
BS 3518Erichsen Cup Tester
Thickness: 0.1 to 2.0mm, width 70 to 90mmIS 1756
ASTM E643Metallographic
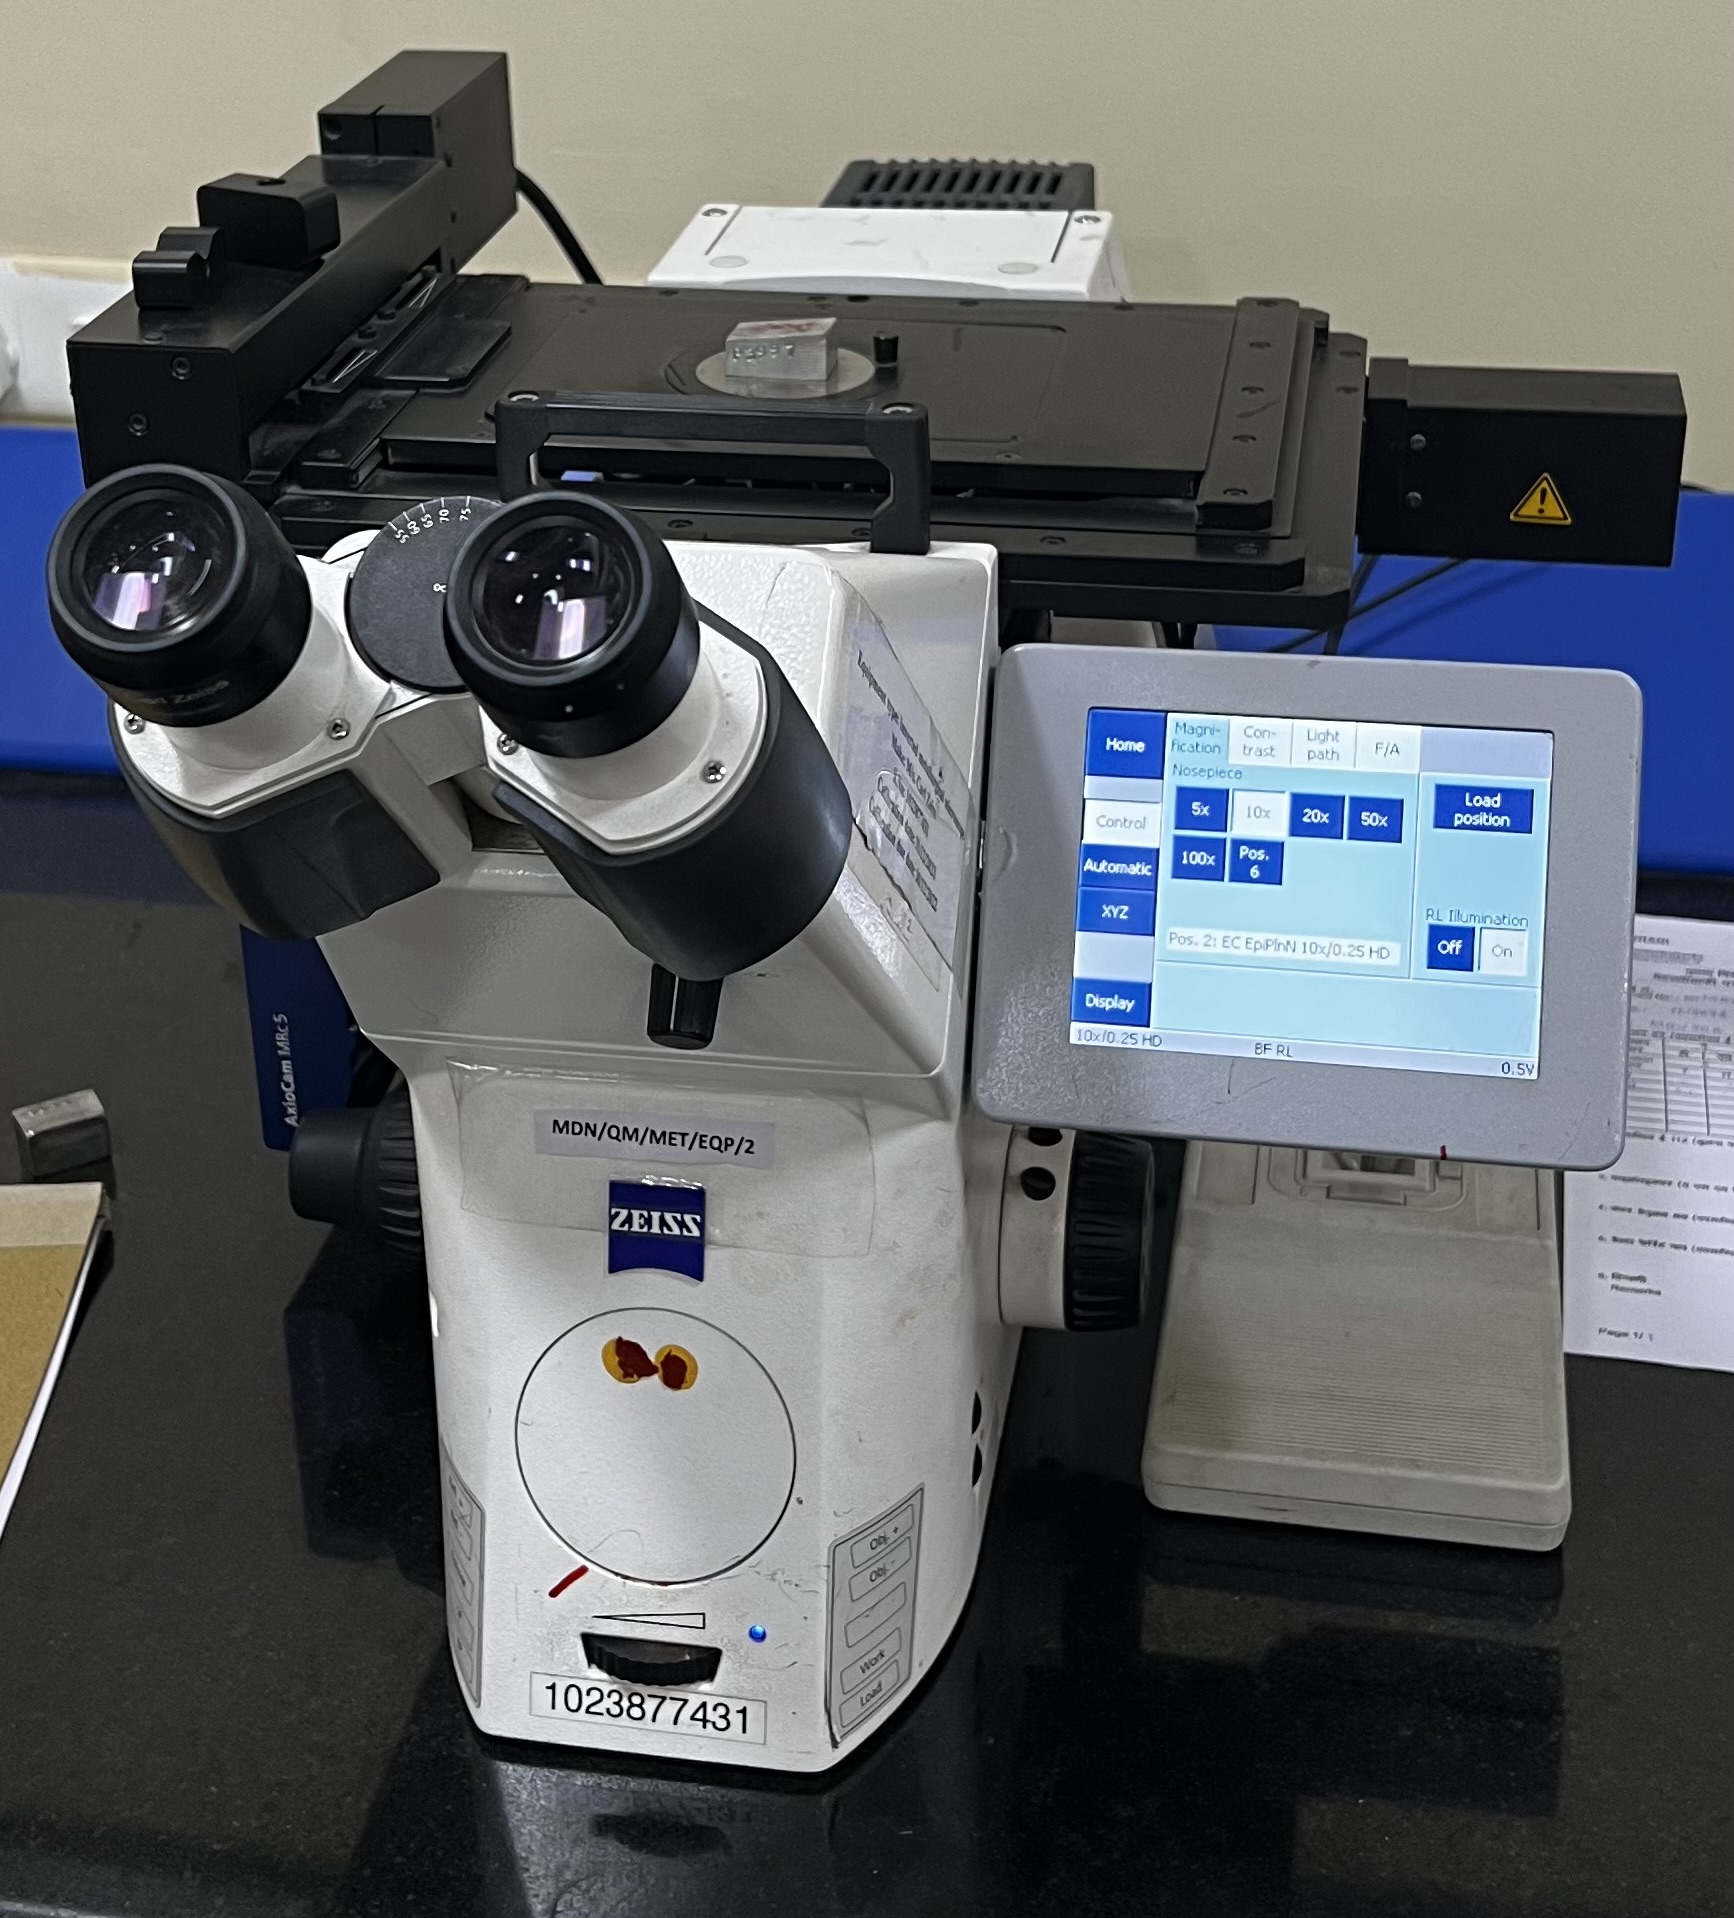
Metallography services include specimen preparation, Optical Microscopy, In-situ Metallography, Phase analysis by Microhardness testing.
Micro Structure (Grain Size)
Micro Structure with PhotographASTM E112 Macro Structure ASTM E 381 & A 604(For Steels)
AMS 2380 (For Ti alloys)Inclusion Rating ASTM E 45 Method – D IGC testing ASTM A 262 Practice – A Coating Thickness Microscopic Method Chemical Analysis
Our chemical Lab also employs X-Ray, Atomic Absorption, Optical Emission & Ultra-voilet visible Spectrometry and gas analysis, wet Chemistry. Optical Emission Spectrometry (OES or Arc Spark) for routine analysis of metals and their alloys. The OES has been designed specifically to meet the demands of quality in Iron, Cobalt, Titanium and Nickel-based alloys (ASTM E353).
Carbon, Sulfur, Hydrogen, Oxygen, and Nitrogen content in steel and titanium is determined by the inert gas fusion thermal conductivity method (ASTM E1019 and ASTM E1447) utilizing Leco instrumentation.
Chemical compositional analysis is also carried out using X-ray Fluorescence Spectrometry, PMI, semi-quantitative analysis using Mobile Optical Emission Spectrometry.
